MPC made this four-piece bunkhouse for a few years, and I think that you can still get recasts of it. The box of Fort Apache odds and ends that I got on ebay had three of these segments. I used two for the structure and the third was cut up for raw materials.
The Fort Apache project has commandeered the woodshop, and I need to make significant progress if I want to get my Fall woodworking projects done.
On my smaller bandsaw, I started cutting-up the extra building segment. The various pieces, shapes, and textures were used for the finished product.
From that new stockpile, I made two doors for the doorways at either end of the building.
(riddle: when is a door not a door?)
One of the odd things about this building is that the windows aren't square...the tops are wider than the bottoms. I decided to correct this weirdness with some window-shutters.
Again, the shutters were harvested from the parts pile.
Glued into place, they cover the window frame discrepancies.
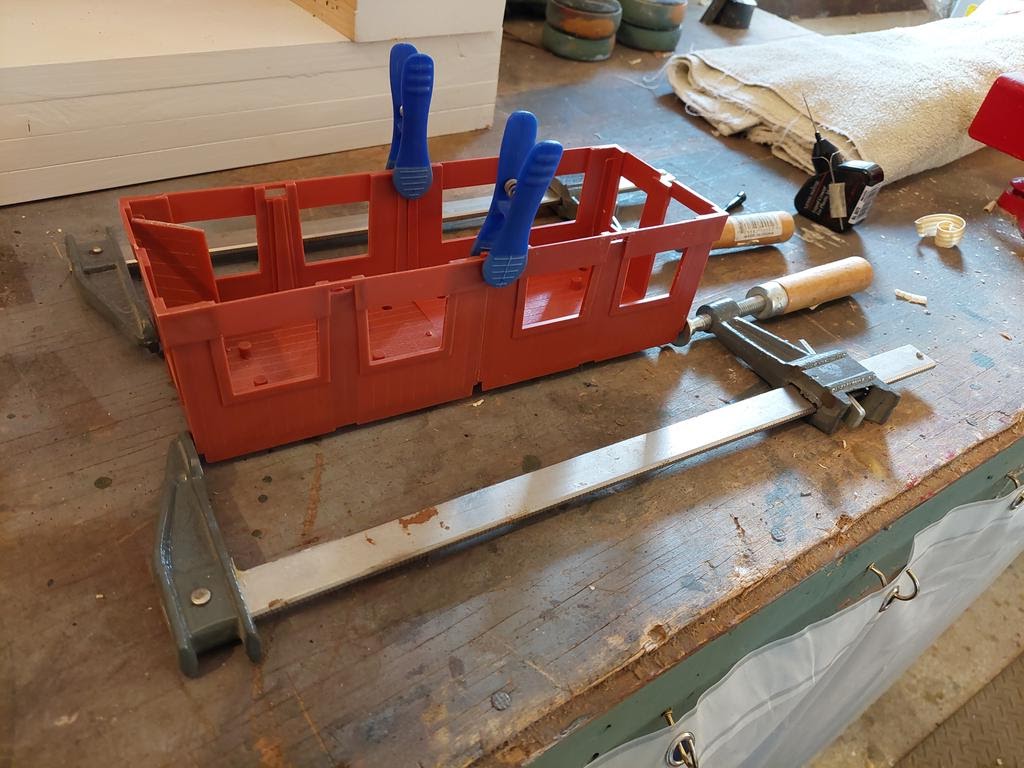
When it came time to join the two segments, I used Testors Model-Master glue and wood clamps. Regardless of the material or the project, always clamp for the strongest bond.
Then it came time to deal with those ridiculous MPC chimneys.
The chimneys are over-scale for the building, and the idea that there would be two free-standing fireplaces in the middle of the building was crazy; so I opted for a simple stovepipe.
The existing chimneys I turned into ventilator cupolas.
I salvaged the gables from the excess roof section to make the shingled covers for the cupolas.
Next I glued and clamped the two roof sections together.
The manner in which the MPC roof was joined to the building required a tab-and-slot system...leaving me with these unwanted slots in the roof.
Using water-putty, I filled and sanded the openings successfully.
With additional surplus shingle pieces I made awnings for the doors at either end of the building.
Ready for priming.
I use Tamiya primer for most projects, styrene plastic and pewter. I've always had very good luck with it.
Coming down the home stretch.
Now comes the stovepipe.
Moving to the drill press, I made a hole the size of the pipe.
The stovepipe was salvaged from an old AMT Mercury Redstone rocket.
It was pretty straight forward. The moral of the story: Never throw anything away.
Glued in place and clamped with masking tape.
Once I fix those little discontinuities at the bottom, it'll be ready for painting.
Next up: the free-standing block house.
Stay tuned, and, as always...
Soldier on!
Mannie