Thursday, January 12, 2023

Old -school metal, and a Giant Blue and Gray update

 I've seen this before a few times, and I'm sharing it here:


I hope that you had a happy holiday season.


On the toy soldier front, I've been happily distracted by the helmet collection, for which I have just, last week, made a new video. If you wish, you can view here:


Remember that fabulous Marx Blue and Gray fantasy set that I put together?https://toysoldiersforever.blogspot.com/2021/05/blog-post.html 

I've added to it substantially since I started and I wanted something special to keep the overflow  in.  The idea couldn't move forward until I found suitable boxes. I wanted the boxes to be smaller versions of the main (big) box - rectangular, flat, and with a coffin-style lid.

Once I found the boxes, I put my meager computer skills (seriously) to the test and made some graphics for the boxes - one for artillery, and one for miscellaneous accessories.


 I'm pleased with the results.

On the scholastic front, the new semester starts on Tuesday, and my attention will be directed toward class work, but I'm glad that this box project was able to fit into the space between semesters.


New posts to come, but for now, wish me luck for the new semester and...


Soldier on!


Mannie

Saturday, October 29, 2022

Battle of Guam: update, 10/22

 I know, I know...my Battle of Guam is taking longer than the entire Pacific campaign.


I've had a burst of energy of late, and on the smaller toy soldier table (out in the studio) I've been assembling a pretty good-sized section of jungle.


I spent a lot of time in the jungles, as well as the highlands of Guam, and although my recreated jungle won't be nearly as thick, tangled, and diverse as the real thing, it'll still make for a convincing scenariao.


The jungle floor is comprised of 9" x 9" mats of plastic "aquarium grass" which is available, very inexpensively, from Amazon.


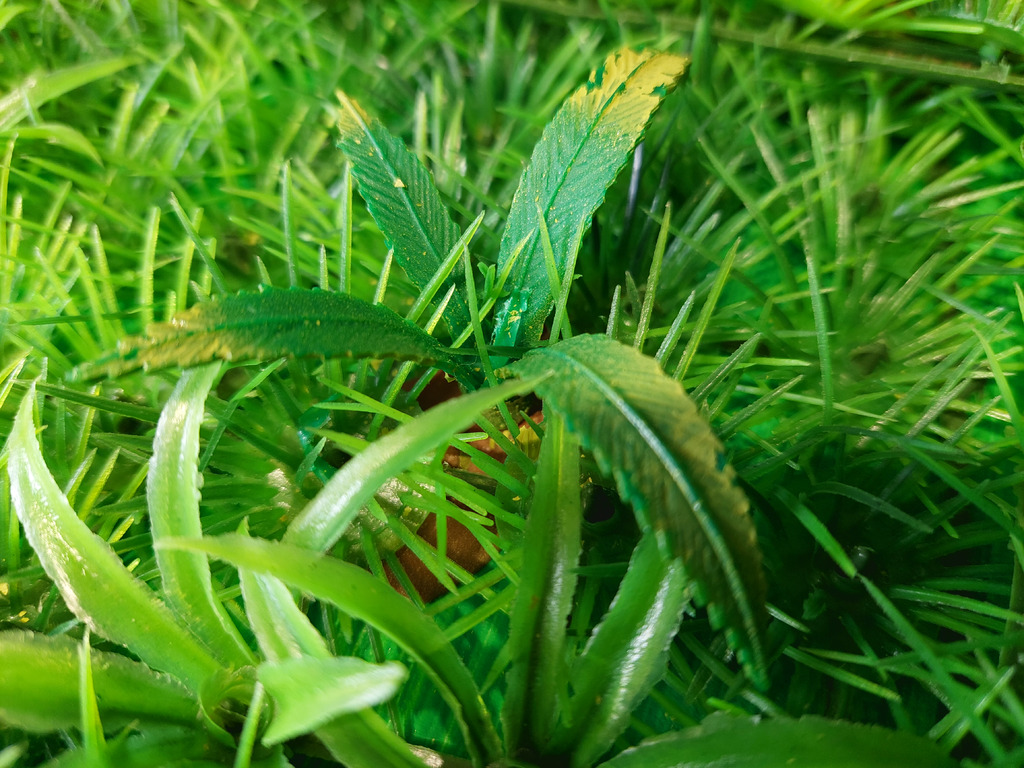
The mats come in two varieties, what I refer to as elephant grass (left), and ferns (right)


The individual plants plug in to the mat, so it's very easy to move them around to get a more realistic jungle floor.


I can almost hear the mosquitos.


The mats are set up on a grid, which makes it very easy to...


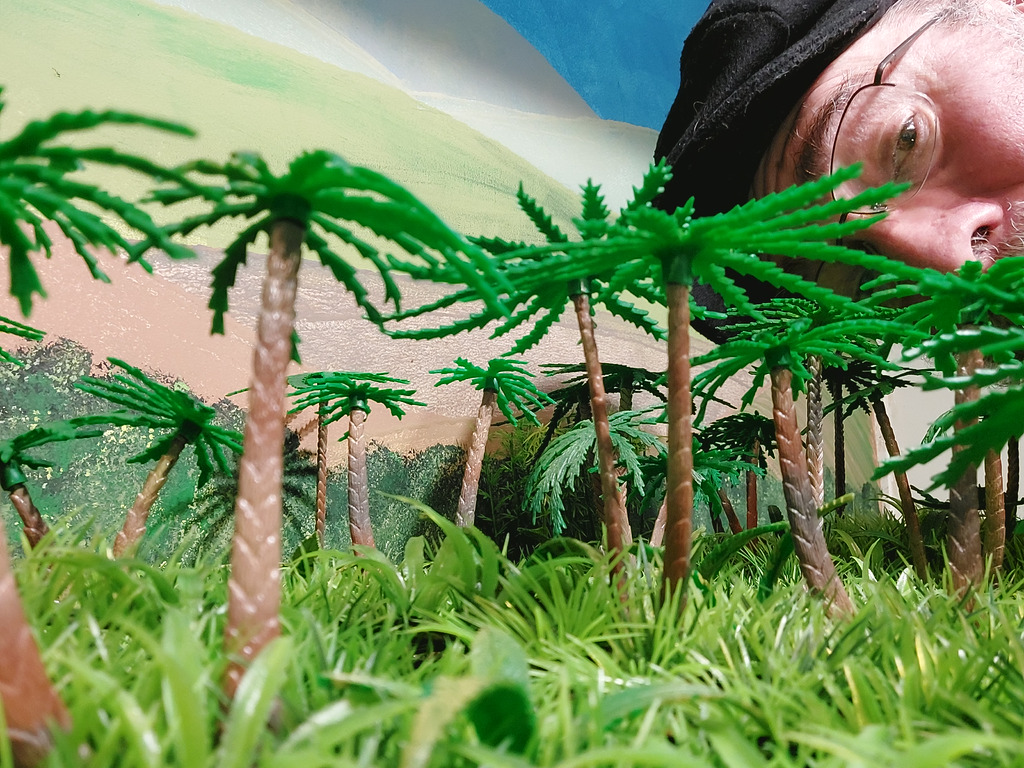
pass my reissue Marx palm trees through,


as well as the Marx three, and four-frond ferns that I add throughout for a little more foliage diversity.


Also from Amazon, I was able to get bamboo;


Though not nearly as tall as that in the groves on Guam...


it still makes a convincing and pleasing effect.


All of the Marx components were given light oversprays of other colors - yellow, browns, gray, to give ferns, fronds, and tree trunks some dimension and variation.


I think that the result is quite convincing; and I am able to keep my Civil War backdrop as it is very similar to the mix of terrain that is found on the island.


After fifty years, it's good to be back on Guam, though it's much smaller than I remember it.

Enjoy the Autumn, and...

Soldier on!

Mannie


Tuesday, October 25, 2022

Let's chat sometime

 Hey gang,


If you ever want to talk toy soldier stuff, you can contact me at:


museumofamerica@myactv.net


Soldier on!

Mannie

Monday, October 10, 2022

Rebuilding the Marx Giant Blue and Gray seacoast mortar

 I've gone on at length about the Marx Giant Blue and Gray playset, and I'm sure that this won't be the last post on it.

In my junkbox I had a wrecked mortar chassis, and a couple of years ago I bought a Marx mortar that had the spring and ejector, but no trigger or rubber band. 

Over the past two days, I spent some time using the plastic from the chassis in the background, and the trigger from the mortar in the foreground, to fabricate a trigger for the mortar on the right.


From the working, seacoast mortar, I removed the trigger to use as a pattern.


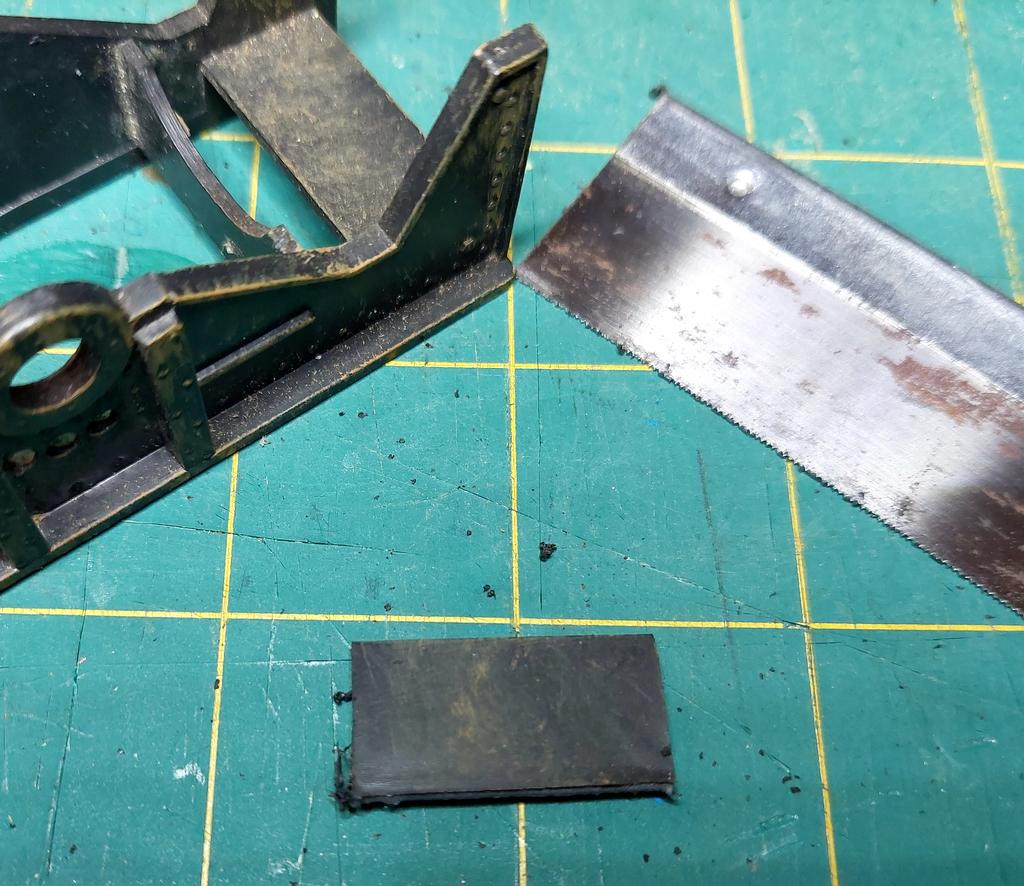
I found a place on the chassis from which the new trigger could be made.


With my trusty razor-saw, I cut out the plastic panel.


Using the existing trigger as a pattern, I traced around it.


I took the blank to the drillpress to put that characteristic hole in the trigger.


With a Dremel tool I removed the bulk of the excess.


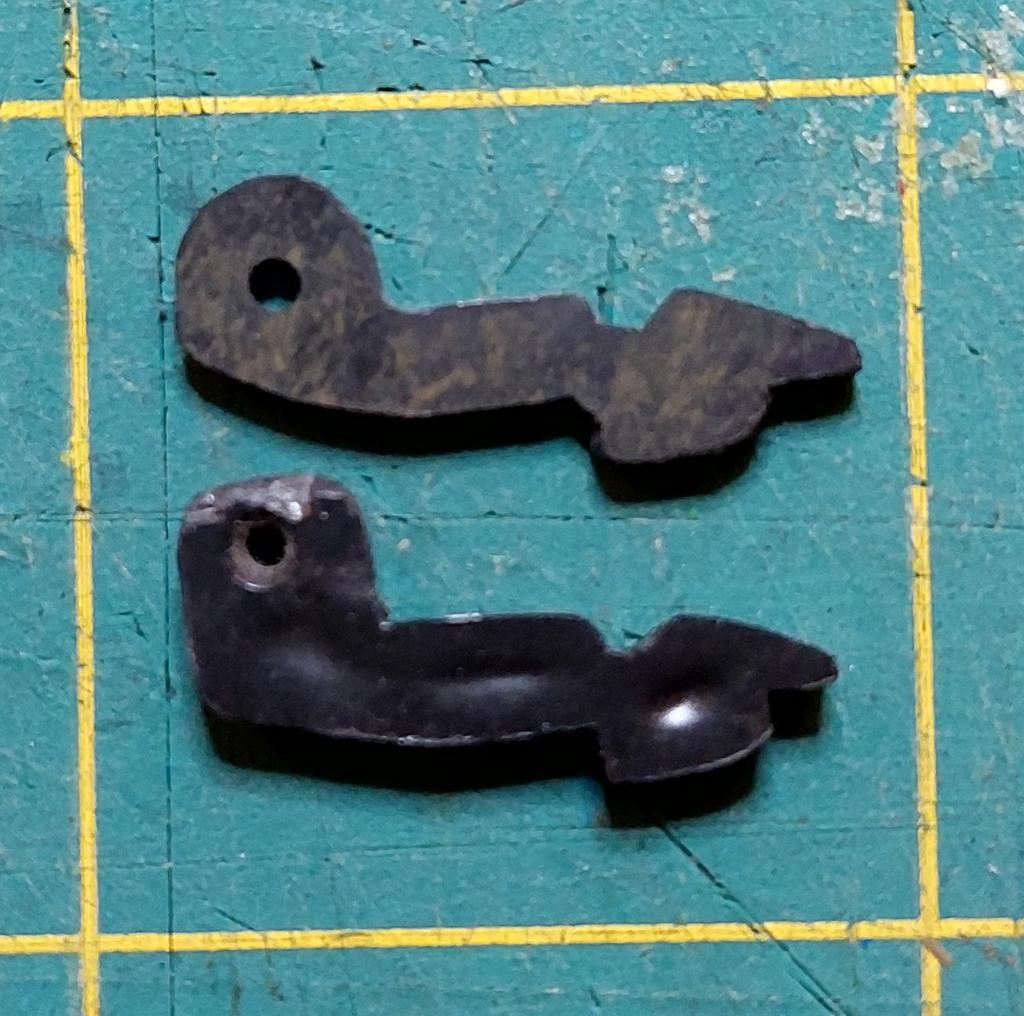
After much cutting, sanding, and fine-tuning, I had the new trigger (top).


I must have taken that mortar apart eighteen or twenty times, trying to get the trigger to fit just right and to fire smoothly.  It eventually became apparent that the new trigger wasn't quite thick enough, and it would unseat itself when depressed.


To solve this, I used a piece of thin styrene to make a splint.  Again, it took a great deal of fine-tuning and sanding to get it right.


Here is the repaired mortar, in the foreground, ready for a test firing.


And here is the result:


A very satisfying project has netted me another good shooter to take into battle.

See you next time, and...

Soldier on!

Mannie