

Factory tour!

Victory Wood Working.


When I was thinking about how to reinvent the garage into a shop, I decided to go all the way and turn it into a WWII defense plant...

where it's always April 29, 1942.
So as FDR gazes down benevolently upon us, let's clock in and take a look around.


Is it a union shop? .. natch!


I worked, for many years at a large public museum, where we recreated a furniture factory from 1912. We had an abandoned furniture factory at our disposal from which we were able to scavenge a lot of really great stuff. One of the things that really stuck with me was that each piece of machinery had a wooden locker where the operator kept his or her stuff.


Bandsaw blades.

Sanding belts.

Tablesaw blades.
Using mostly salvaged lumber I made Art Deco tool stands for the drill press and mortising machine.


I used to have my dad's medical department helmet when he worked as an occupational nurse in a Chevy plant that had been converted from making engine blocks, to making propellers for B-24s. Sadly, it was lost somewhere along the way.
Let's take a look at the tools and some of the things that they've been used for. Please keep your hands in your pockets and don't distract the workers.

The small bandsaw was one of the first new machines that I bought after the creation of the shop. I use this smaller saw to make tighter curved cuts, as with the beginnings of my stone bridge.

With the Jointer planer I was able to plane down the walls of the bridge so that the stone copings would overhang them.


This little bridge has seen many a battle on the toy soldier table.
(you can see the process of making it here)
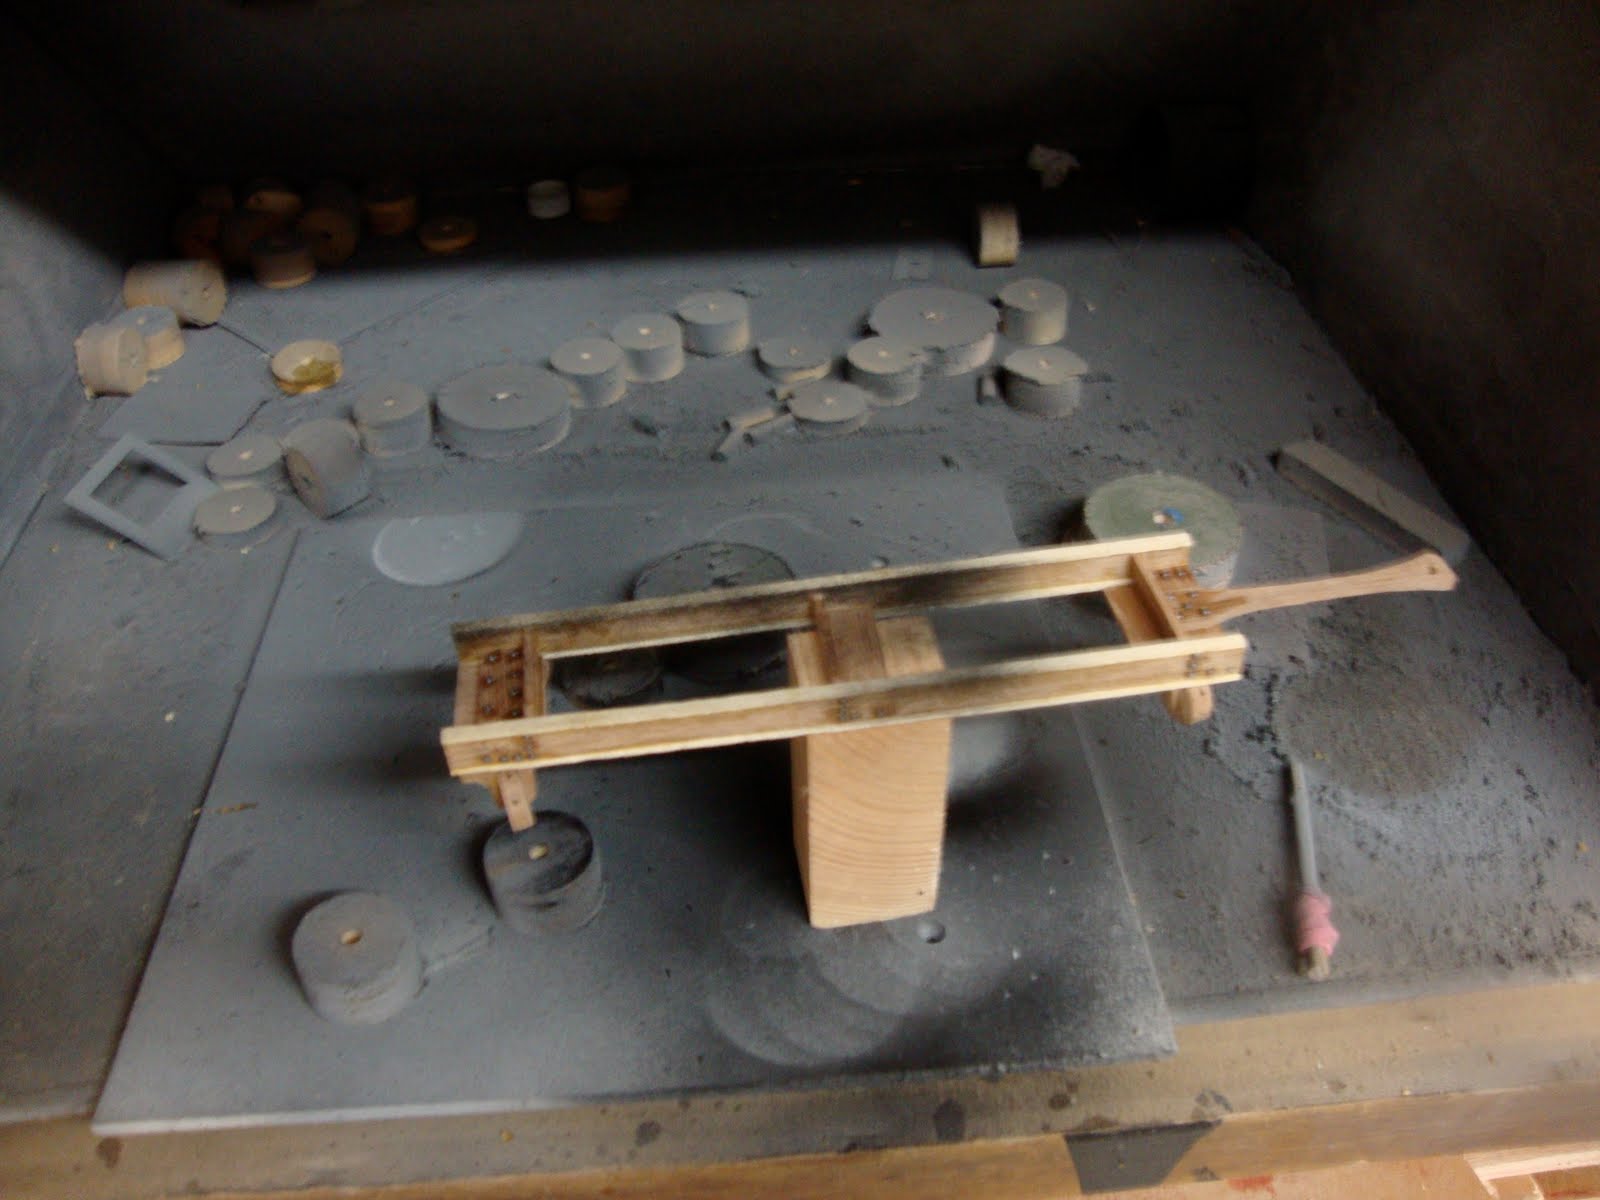
The small bandsaw was also emplyoyed to make a fanciful WWI artillery piece.
Here, the carriage is being freed from a piece of scrap mahogany.


The small belt sander was used to get in to tight spaces, like those on the gun cradle and recuperator mounts.


This was not patterned after any particular gun, I just generalized the common elements that I found most interesting about large WWI guns.
(You can see the process of making it here)

The next time I make a 54mm post-and-rail fence, I'm going to try to use my mortising machine to drill square holes in the base in which to insert the fence posts.

It takes a while to wrap your head around the idea of drilling square holes...but there you are.
My wood lathe has been employed for many projects, including the turning of the gun barrel of that WWI cannon.


I also used it to turn the stone abutments on Burnside Bridge.

A fairly big project that I undertook a few years ago, was making a 15" Rodman gun in 54mm. For this project the lathe was put back in to action.

The Rodman gun tube moved to my drill press, another early resident of the factory.


The drill press was used to bore out the gun tube to the correct diameter: and, by adding a sanding barrel...

I was able to shape the trunnions.


All of the parts and pieces made their way to the spray-booth to be primed and painted.

The Rodman gun is ready for action.
(You can see the process of making it here)
The drill press doesn't get much rest. I just used it last month for my latest project; a water well in 54mm.

In this instance I used hole saws of two different diameters to make the circular wall of the well.


I'm very happy with the finished product. Now that W. Britains has finally come out with American Civil War civilians, I can bring a whole new dimension of fun to the toy soldier table.

One of my most-used tools is my belt/disc sander.

From making boulders...

to shaping terraforms, the sander has been used on every project that I've undertaken.

The showpiece of the shop is my Grizzly 14" bandsaw.


The small bandsaw can make curved cuts of a moderately small diameter.
This larger saw is used for making more sweeping curves, such as the walls of Burnside Bridge.

Again, the sander gets used for everything.

I learned early on that there's no such thing as "too many" clamps.


For wood glue to be effective the glued pieces need to be clamped together until the glue dries.


The stacked layers of my terraform hills were cut on the bandsaw, shaped at the sander, and glued and clamped together.
For the tightest curves of all, I use the scroll saw.

The scroll saw, like the bandsaw, cuts curves.
Its very thin, reciprocating blade, cuts very tight curves and angles, which was just the ticket for the forest of trees that I wanted to make.

I traced two matching tree outlines on thin plywood and carefully cut them out. Then I went to the bandsaw and cut slots in each - one, from top to midpoint, and the other, from the bottom to midpoint. In this manner they slide together and a two-dimensional tree is
the result.
the result.

By sliding them apart they store flat, which is mighty handy when you have limited storage space.
The beast of the shop is the tablesaw.

The tablesaw is the one indispensable machine that every homeowner should have, not to mention the do-it-yourself toy soldier enthusiast.

I glued up a few pieces of scrap and passed them through the blade...

and the result was a nice little wall-tent.

I acquired a Britains Deetail limber that didn't have a lid. Another piece was pulled from the scrap pile, milled on the tablesaw, dropped in to place...

and is ready to be primed and painted.
The tablesaw also turned out the timbers for about two-dozen cheval de frise.

Then to the drillpress...

and then to the sander.


Bamboo skewers were cut to length, sharpened, and glued in to place.

The finished product makes for a very menacing component of the Petersburg fortifications.
The toy soldier table itself is a product of the tablesaw.


A spare corner in my furnace room became a 54mm wonderland.
(You can see the process of making it here)
It is a joyful kind of therapy to be able to combine my two favorite hobbies...

to bring more fun stuff to the toy soldier table.

What's next?
Don't ask me, I just work here.
Until next time,
Soldier on!
Mannie